Little Known Facts About Deck Builders Raleigh.
The Greatest Guide To Fence Company Raleigh
Table of ContentsThe 25-Second Trick For Deck BuildersThe Main Principles Of Fence Companies Raleigh Everything about Fence Companies RaleighA Biased View of Fence Companies RaleighSome Known Factual Statements About Fence Company Raleigh Getting The Deck Builders Raleigh To Work
Cedar fencing pickets with stress treated posts will last the longest. The trick to a durable fencing is making use of pressure treated wood messages and rails together with cedar fencing pickets. Cedar is normally rot immune, so it's a fantastic timber to use outdoors. You can make use of cedar rails but I would advise you utilize stress dealt with 24's.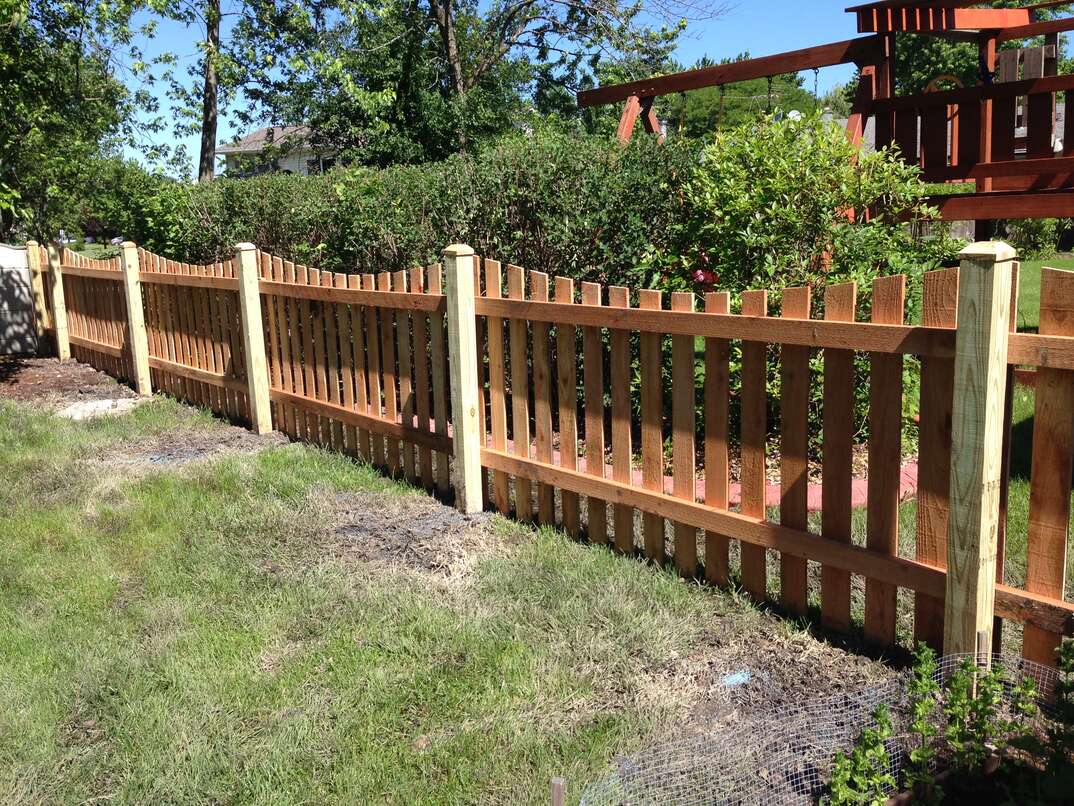
When you don't pay a contractor, you save that amount and just pay material costs. You can absolutely build a fencing on your own. This actually isn't too hard and is fairly simple. There aren't a great deal of actions to constructing a fence and also the process isn't extremely complicated. It's extremely simple to research study as well as do the task correctly.
The Fence Company Raleigh PDFs
If you do not secure the cedar fence will fade to grey over an extended period of time. When mounted appropriately a cedar fencing can last between 15 and three decades. You should use deck screws on your wood fence. These are made to be used outdoors and will certainly stand up to the harsh weather as well as will not rust.
Get rid of any type of big rocks as well as rocks you locate in the ground. If you come across a big rock that is not able to be eliminated from the ground, maintain reading because we included a video clip listed below everything about how to set a fence blog post in rock. It helps to have an additional collection of hands for this action.
5 Simple Techniques For Fence Installers
After your message openings are dug, you can include your message in the middle of the hole. Fill up the opening with the concrete blend up to 3-4 inches listed below the ground level.
Once it is right, brace it to the ground with landscape risks screwed into the fence blog post. As you dig out your fencing blog post openings, you might run right into some rocks and also rocks.
You may run into a stone so big that it is not able to be gotten rid of from the ground. This is what happened to us in our backyard.?.!! Here's the general process: Drill a big opening in the rock base where you intend to fence article to go. Clear out the opening by blowing pressed air into the opening.
Facts About Deck Builders Near Me Uncovered
Set message support right into opening quickly and make certain it's straight. Allow glue dry/cure. Include fence article check my site into support and screw right into place. Backfill remaining location of the hole with concrete and water. Mix with shovel and also let dry. When your cement has had time to completely dry (inspect your bag's you can try these out instructions for proper dry time), you can start connecting all of the posts and also include your rails.
We placed the lower rail regarding 8 inches from the ground, the top rail regarding 8 inches from the top of the fencing and also the other one in the center of the leading as well as bottom rails. Measure as well as mark your initial fence blog post as well as screw the rail braces into put on the articles.
The last action is the most laborious of all. Lay out your pickets along your fence and also start screwing them in individually. There ought to be 2 deck screws per rail, so 6 screws complete on each picket. Some people make use of nails however your fencing will last a lot much longer with screws.
A Biased View of Fence Installers
You don't require to install the pickets with any kind of areas in between them. We included one near the front yard so you can conveniently access the backyard via the side gate.
Mark your fencing blog post locations (8 ft apart)Dig message hole with article opening miner. Go at least 2 feet down and also 12 inches wide for a 6 ft fencing, which will certainly use 8 ft blog posts.
Connect fencing pickets with 6 screws on each picket (2 at each rail)Develop gate (if needed). We summed up the whole process of constructing eviction in a separate video and blog message, so make certain to inspect that out right here. As you remove your fencing blog post openings, you might run right into some rocks and also rocks.
Excitement About Fence Company
Nonetheless, you might run into a stone so big that it is incapable to be removed from the ground. This is what took place to us in our yard! We summed up the whole process in this You, Tube video clip. Pierce a large hole in the rock base where you wish to fencing post to go.
Load hole with epoxy/acrylic anchoring adhesive we used this set. Establish post anchor into hole immediately and make fence corporation certain it's straight. Let adhesive dry/cure. Add fence article right into support and also screw right into area. Backfill remaining area of the hole with concrete and also water. Combine with shovel and also let completely dry.